## celery + flask 异步请求使用 (二) 定时任务
- 参考 >> [celery + flask 异步请求使用 ](https://adong.wiki/detail/2022/0724)
- 增加 result_backend='redis://172.17.0.1:6379/0',
``` Bash
# 因为增加了 result_backend='redis://
pip install redis
```
app.py 文件 增加result_backend配置
``` python
from flask import Flask
from celery import Celery
RABBITMQ_URL = f'amqp://guest:123456@172.17.0.1:5672'
def make_celery(current_app):
# 创建celery实例
current_celery = Celery(
current_app.import_name,
broker=RABBITMQ_URL
result_backend='redis://172.17.0.1:6379/0' # 增加result_backend配置
)
class ContextTask(current_celery.Task):
def __call__(self, *args, **kwargs):
with app.app_context():
return self.run(*args, **kwargs)
current_celery.Task = ContextTask
return current_celery
app = Flask(__name__)
celery = make_celery(app)
# 引入celery任务,在celery实例之后引入
from tasks.spider import run
# 添加定时任务,10秒执行一次
@celery.on_after_configure.connect
def setup_periodic_tasks(sender, **kwargs):
try:
sender.add_periodic_task(
10,
run.s('hello periodic task')
)
except Exception as e:
print(e)
@app.route('/', methods=['GET'])
def index():
# 调用celery任务,实现异步请求操作
run.delay('test celery')
return '<h1>Hello World!</h1>'
if __name__ == '__main__':
app.run(debug=True)
```
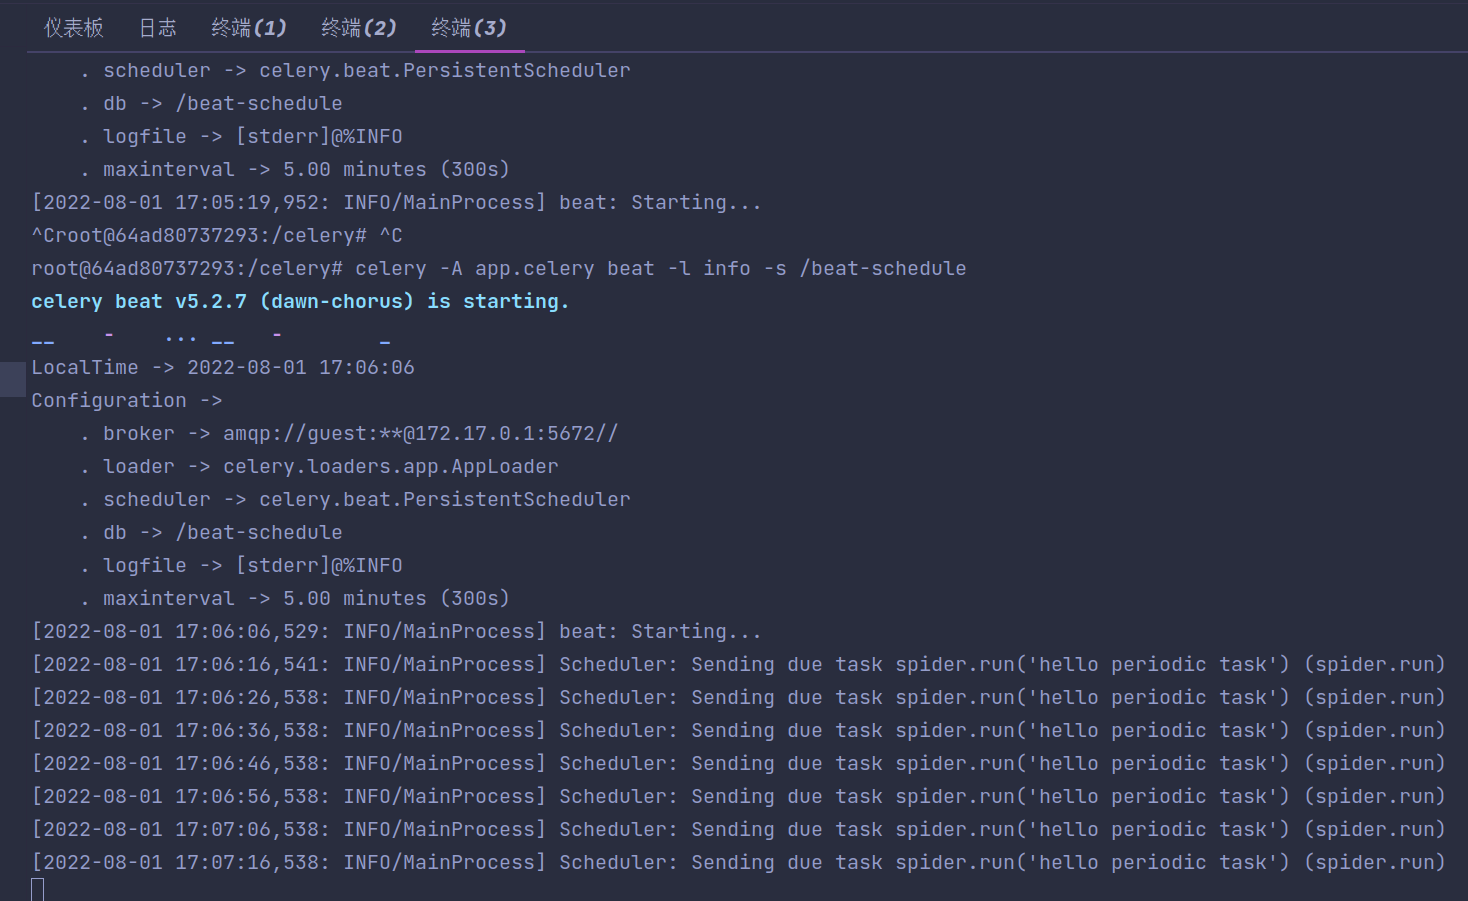
- 运行
``` Bash
# 运行
celery -A app.celery beat -l info -s /beat-schedule
```
- [](https://static.adong.wiki/static/images/md/2022073001.png)